
maintenance
Keeping your bike running tip-top is easy for the most part. Keep the tires inflated, keep your chain lubed, keep your tire sealant fresh, etc. But you also need to be aware of manufacturer recommended service intervals on suspension, the use and knowledge of a chain wear indicator, and generally how to keep tabs on the condition of your mechanical steed.
One of the best ways to keep an eye on your bike overall is the pre-ride checklist. Before setting out, always check these things to ensure a safe and fun day on the bike. A quick run-through of these key parts is all that’s necessary:
Tire Inspection
Check to ensure you have correct / adequate pressure in your tires. The most accurate way is to use a pressure gauge or the gauge on your floor pump. You can also do it by giving the tire a squeeze. If you know your pressure is already correct, getting the feel of it manually is always a good bit of knowledge to have. Also, look for any cuts or nicks in the tread and sidewalls of the tires.
Wheels and Wheel Fixtures
While you’re down there checking the tires, take a look at your quick-releases to ensure they are in place, closed, and properly tensioned. Grab the wheel and push it a bit – there should be NO play or movement. Now lift up that end of the bike and give the wheel a spin. If something is wrong, it will quickly become evident by sound and/or sight. Make sure there are no wobbles in your wheels.
Chain Lubed
When’s the last time you lubed your chain? Take a look and if it’s dry, give it the treatment. TIP: A lot of riders will lube the chain right after they clean their bike post-ride. This way they know their chain is lubed when they get ready to ride again.
Test The Brakes
Grab each brake lever firmly and push the bike back and forth. The brakes should hold firmly – no slipping, no squealing, no slop.
Check The Shifting
A quick run through the gears will show you if there’s a problem. Do it with the bike in a repair stand or even just get on and spin around the driveway and go through all the gears.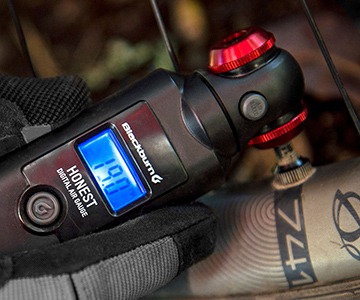
tire pressure
Check before every ride. All bicycle tires lose pressure just sitting there waiting for you to get your riding gear on, especially high-pressure road tires. Check your tire pressure and top it off before the ride whenever necessary.
What? You don't have a floor pump? Better get one!
There are two types of air valves on bicycles: Shrader and Presta. Shrader looks like the valve on your car tire, Presta is a thinner metal valve with a little nut on top that you need to loosen fully to allow air flow. Need to know how to inflate tires? Have a look HERE.
Recommended tire pressures are on the sidewall of the tire and feature an advised range in which to keep the tires inflated. If you stay within the parameters, you are generally good. But there are nuances, naturally. To be sure, tire pressure affects ride characteristics, and you will soon develop a preference. Here are a few scenarios:
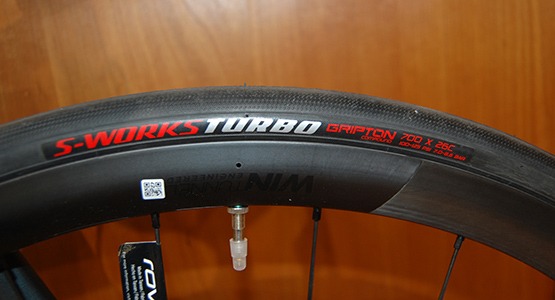
road bike & gravel bike tires
If you’re an aspiring Grand Tour racer or local criterium competitor, you’re probably running some super light and narrow 25c or skinnier tires. Less rolling resistance means speed, and less rolling resistance is achieved with high pressures. Many racers will run into the 100 psi range to create a minimal contact patch so the bike flies along the tarmac. Can you go too high? Absolutely, and you'll know it by the harsh ride quality and chatter you're feeling.
Additionally, road bike tire pressures can be terrible in higher volume tires, like those on gravel bikes, compromising handling and traction characteristics. Stay within the prescribed pressure range inscribed on the tire sidewall and find your preferred sweet spot in the range.
Variables such as body weight and rim width will also have an effect on ride quality. Experiment and find out what works best for you.
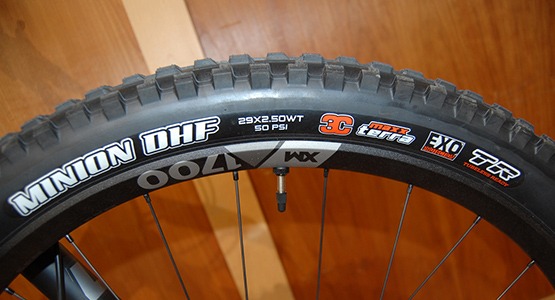
mountain bike tires
With mountain bike tires you have a lot more leeway and can run relatively low pressures to enhance traction and handling. Again, stay within the sidewall recommendations. You’ll also note that some of the manufacturer suspension setup pages linked in that article also have recommended tire pressures for your body weight.
Sooner or later, you're going to wear out your tires. How do you select new tires for your mountain bike? Glad you asked!
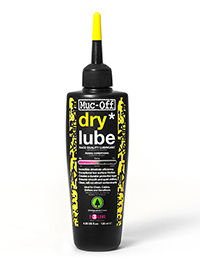
chain lube
There are many lubes for many different applications, e.g. wet conditions, dusty dry conditions, etc. Find the brand you like, use it to manufacturer recommendations and apply as needed. What do we use in the WRC Service Lab? Muc-Off Dry. Here's how you do it.
tubeless tire sealant
If you’re running tubeless, be aware that the sealant inside your tires does have a lifespan. It’s generally a good idea to refresh the sealant about every four months.
If you ride frequently, you’re probably going to wear out tires before you need to replace the sealant. Simply set up your new tires with new sealant.
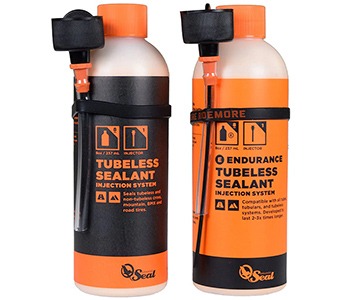
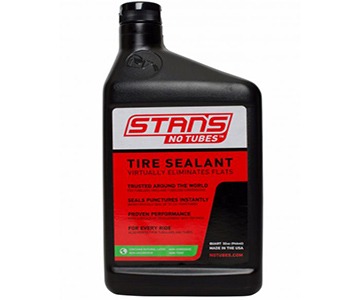
which sealant?
Generally it will be Stan’s. Trek bikes use Bontrager sealant. WRC’s ace mechanics will advise Orange Seal for high-pressure installations like road and gravel bike tires. A simple internet search will turn up plenty of sealant shootouts and tests. We can save you the time – Stan’s and Orange Seal are equally the gold bar standard of bicycle tire sealant formulations.

bolt check
Riding creates vibration, vibration creates looseness, and looseness creates failure. Don’t be a victim. Periodically check the torque and tightness of bolts and fixtures on your bike. Carbon fiber part? KNOW the torque value (it’s handily printed on most parts) and OWN a torque wrench so you don’t crunch something expensive. Did you buy a Trek bike? BONUS – it comes with a torque wrench!
cleaning & washing
Washing your bike is a necessary periodical task, particularly if you have ridden during inclement weather or have a whole lot of countryside built up on your bike.
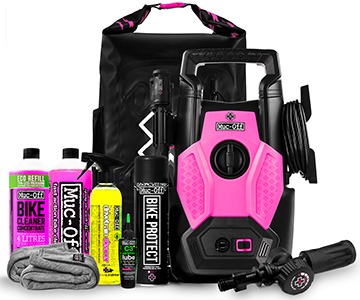
The hard and fast rule of bike washing is go gentle. DO NOT be tempted to leave your bike on the car rack and go to the car wash where the high pressure hose will definitely clean your bike but will also compromise every bearing surface on it.
Use warm soapy water, hand brushes, and a rinse bucket to do the job properly. Use a chain cleaning device for the chain. Use cleaning products designed specifically for bike cleaning. We've got you covered on all these necessities and more with plenty of individual products and even complete cleaning kits.
advanced maintenance tasks
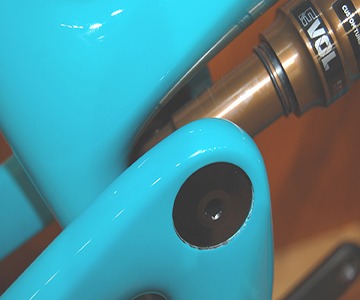
suspension bushings
The surfaces and bearings of your suspension system's pivots require periodic cleaning and lubing. Depending on the make and model of your bike, this can be as easy as squirting some grease into a port or as daunting as completely disassembling your frame's fittings.
Research it first. Start with the manufacturer's website and see if this is something you're comfortable tackling. If this is your first time, one good way to ensure success is to photographically document the parts as you remove them from the bike to ensure a correct reassembly.
If after you've researched the process and don't feel up to it, rest assured the WRC Suspension Lab is always available. Come to that -- you need to do manufacturer-recommended suspension service at set intervals anyway so bring it on in when it's time.
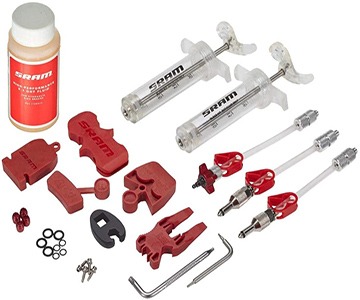
brake bleeding
Bleeding hydraulic disc brakes is not as difficult as it may seem. The reason your brake lever feels mushy is that there is air in the fluid. You need to get those air bubbles out of there!
Here are a pair of handy videos that will show you how to bleed your SRAM or Shimano brakes. Follow along and get those brakes back in order: